What is Metadata Navigation?
Before we proceed, I want to mention that this filtering mechanism (official name in SharePoint for this is Metadata Navigation) really only makes sense if you configure your library with custom metadata/columns. If you don’t have custom metadata setup, the only filters you will have are the ones that exist by default in any library (Modified, Modified By, etc.).Metadata Navigation is a feature in SharePoint that allows users to dynamically filter and find content in SharePoint lists and document libraries.
Step 1. Configure your metadata, upload documents
I will assume that you already know how to do this. If you don’t – you might want to check out this slide deck for step-by-step instructions.Step 2: Activate Metadata Navigation feature
Not sure why it is setup that way, but the cool looking filter (also known as Metadata Navigation) is not something that is activated out of the box. You have to enable the feature at the site level first. For this, you need to be a Site Admin (or have Full Control permission to the site).- Go to Site Settings > Manage Site Features.
- Scroll down to Metadata Navigation and Filtering and click Activate button.
Step 3: Configure Metadata Navigation Settings
Once the Metadata Navigation is activated, you can now setup filters at the library level- Go to the library where you want to add the filters
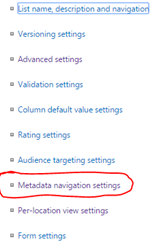
- Go to Library Settings tab – you will now see an
option called Metadata Navigation settings. That option did not exist
previously (it only appears after you activate that Metadata Navigation feature above)
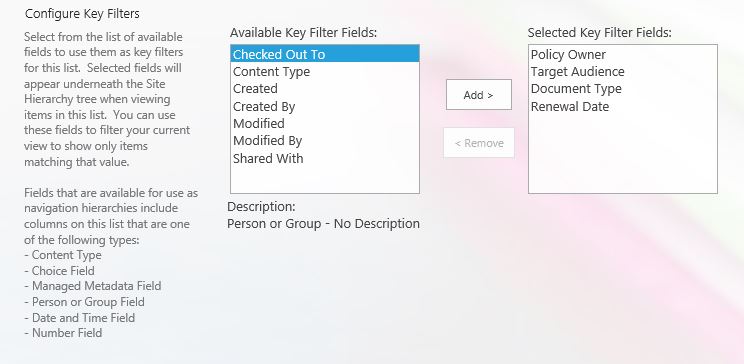
- On the next screen you can configure your filters. You have full
control over which filters to display and in which order. The filter
list on the left side contains all of metadata filters available to you
(both out of the box + custom metadata you created yourself).
- Click OK